Supporting multiple languages is important to scale up your application and reach the masses. Around 25% of India and 64% of Europe's working adult population are multilingual, and even the USA saw a ~194% increase in multilingual population. (Source)
Also, 65%+ consumers prefer to consume content in their preferred language, so this should be considered an important functionality that already comes with most of the TOP applications like Amazon, WhatsApp, Facebook, etc.
So, let’s build for multilingual world!
1. Organize your string resources.
Do not use hardcoded string values anywhere in your code
Do
Text(stringResources(R.string.follow_me))
Don’t
Text("Follow me")
Using strings.xml, we will have a common place for all our string resources and we can then support multiple languages by adding more strings.xml files.
Note: If you are having some complex string calculations/concatenations then still you can store them in strings.xml and format accordingly, maybe using MessageFormat
2. Add Multiple Languages
You already have one place for all your string resources, now you just have to translate every string resource to all other supported languages.
//Example of hindi strings.xml file
<resources>
    <string name="subscribe_to_sagar_malhotra">सागर मल्होत्रा की सदस्यता लें</string>
    <string name="language">हिन्दी</string>
</resources>
I am using an Android Studio Plugin named “AndroidLocalize” to perform this operation.

The translated values might need some changes, but it can help you save a lot of time.
3. Trigger language change
Whatever UI you are using for your language picker(here ExposedDropDownmenu), you have to trigger an onClick event to notify your OS that you have changed the locale of your application, so that the OS can also switch to that specific language’s strings.xml file.
onClick = {
    // set app locale given the user's selected locale
    AppCompatDelegate.setApplicationLocales(
        LocaleListCompat.forLanguageTags(
            "hi"//ISO for hindi
        )
    )
}
You need to pass the ISO-639 code of your language to send and notify your OS of changed language preferences.
3.1 Fixing the issue
This might not work for your application, as currently this method only works for AppCompatActivity, check if you are extending ComponentActivity for your specific Activity.
class MainActivity : AppCompatActivity() { ... }
After extending AppCompatActivity, you also need to make changes to your supported theme for the specific activity.
<style name="Theme.MultilingualApp" parent="Theme.AppCompat.Light.NoActionBar" />
4. Save Locale Preferences
For Android 12 or below, you have to either manually store the selected language preference value or just use this configuration in your AndroidManifest to allow AndoridX to handle the locale preferences itself.
<service//Inside application tag
    android:name="androidx.appcompat.app.AppLocalesMetadataHolderService"
    android:enabled="false"
    android:exported="false">
    <meta-data
        android:name="autoStoreLocales"
        android:value="true" />
</service>
5. Android OS Per-App Language Preferences
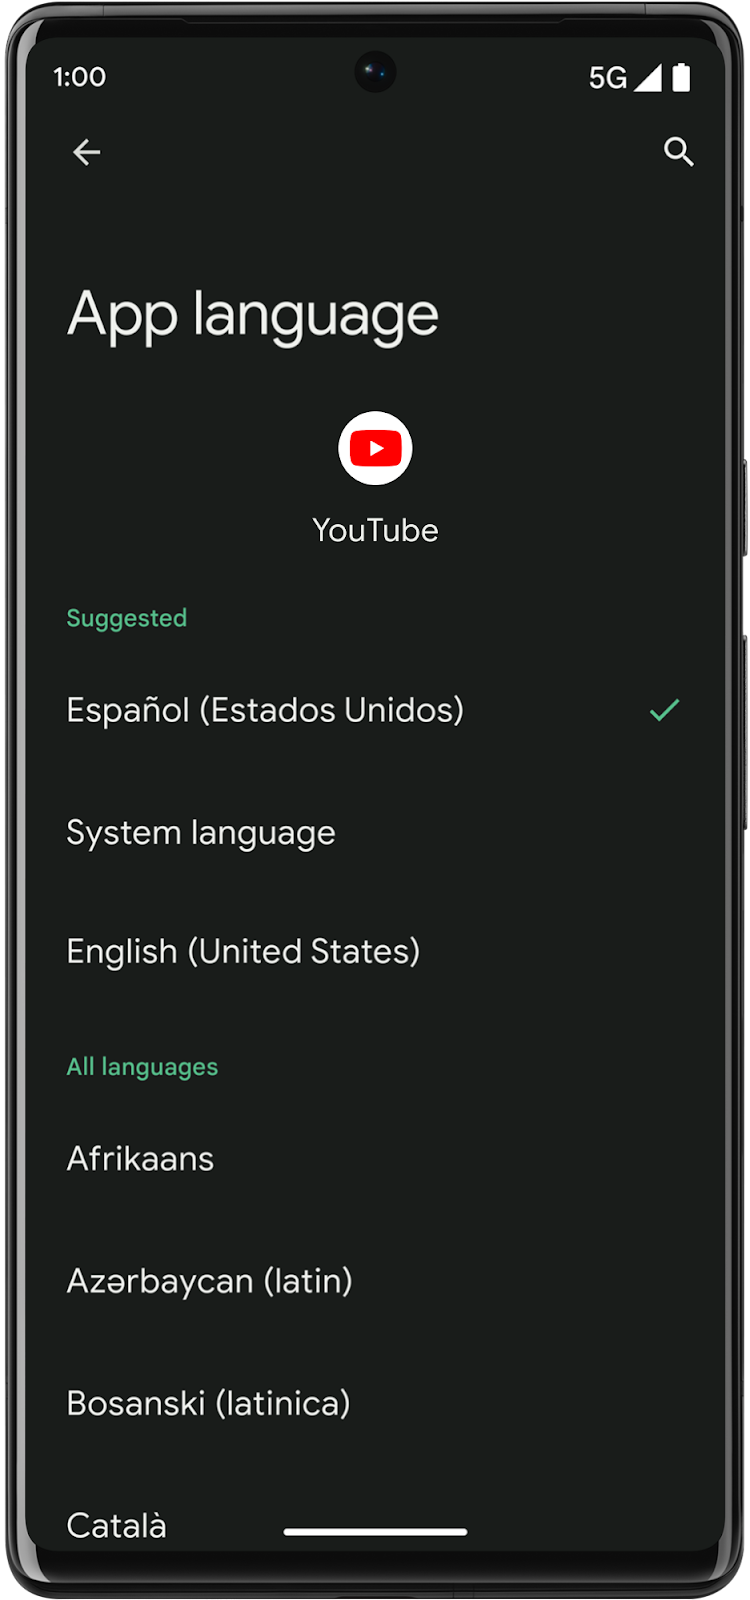
In Android 13 and above, the Android OS also supports changing the Per-App Language preference from system settings.

To notify your OS that your application also supports multiple languages, add the necessary configuration in your AndroidManifest file.
//Add this to your application tag
android:localeConfig="@xml/locale_config"
Define all your supported languages in the local_config.xml file
<?xml version="1.0" encoding="utf-8"?>
<locale-config xmlns:android="http://schemas.android.com/apk/res/android">
    <locale android:name="en" />
    <locale android:name="gu" />
    <locale android:name="hi" />
    <locale android:name="ar-AE" />
</locale-config>
Now, your application will also support changing the language from system settings too.
6. Avoid Activity Recreation
You might have noticed that your activity is recreating when you are changing your application locale, that is because changing the locale is also a kind of configuration change and by default your activity will be recreated whenever a configuration change occurs.
You can prevent this default behavior by informing your OS using AndroidManifest.
//Add this in your specific activity tag
android:configChanges="layoutDirection|locale"
Video:
I hope this feature helps you reach a wider audience, make sure to Follow me for more such useful content.
